
Why Do You Need to Download a Website as a Backup?
Downloading a complete website as a backup is equally important as regular backups. A downloaded website is a guarantee for growth. If your website gets accidentally deleted by your hosting provider, you can right away upload the previously downloaded version.
This activity not only guards you against human error but also prevents data loss and ensures an unhampered revenue stream.
Also Read: How to find out when a webpage was created?
Why Do You Need a Website Backup?
Imagine you are comfortably sleeping on your bed, and suddenly you start receiving calls from your IT team. On picking up, you are informed that your website has been taken down from the internet.
Now, that can cause some serious disruptions in your business. But if you keep your website’s backup in check, you won’t lose sleep over such incidents.
Did you know 96% of businesses don’t back up their workstations, and that’s where they leave loose ends, making their website vulnerable to phishing, ransomware, malware infections, and malicious attacks.
A full website backup ensures you’re protected from losing valuable data, and through this step-by-step guide, we will guide how you can create the same.
Also Read: How to Take Backup of Emails from cPanel
How often should you back up your website?
Many people prefer backing up their website every week and month. However, it is advised to take regular backups. For instance, if you post a blog or update content regularly, you need to back it up immediately. However, if you post a blog on a weekly or monthly basis, you can create backups as per your blog post.
Also Read: How to upload Laravel Project on Shared Hosting With cPanel?
How to Download All the Files From the cPanel File Manager
Technically there are 4 different ways of creating a backup –
- Automatic Account Backup
- Automatic Home Directory Backup
- Manual Website Backup
- Backup Wizard
1. Automatic Account Backup
Generally, an Automatic Account Backup is created when transferring your existing account to another web hosting provider. This backup includes home directories, emails, MySQL databases, and DNS settings. This backup works by administrating the systems/network that needs backup.
Once configured, the selected data and applications automatically get copied, transferred over the network, and finally backup in the device.
To create an Automatic Account Backup
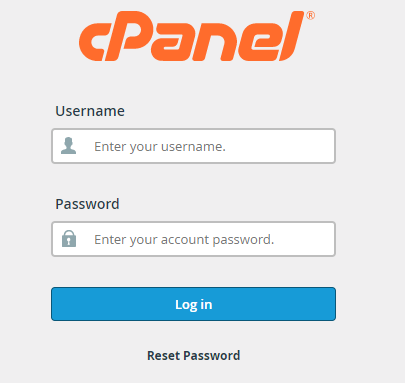
Step 1 – Log in to the cPanel
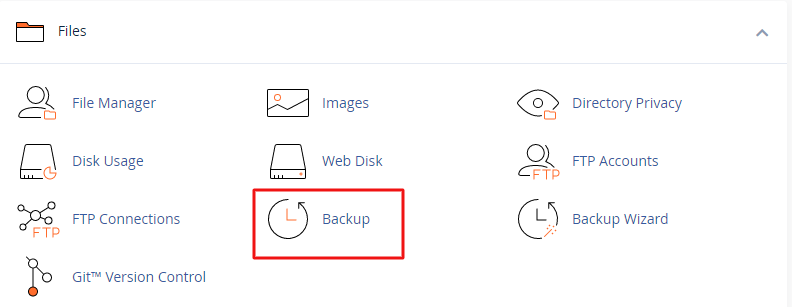
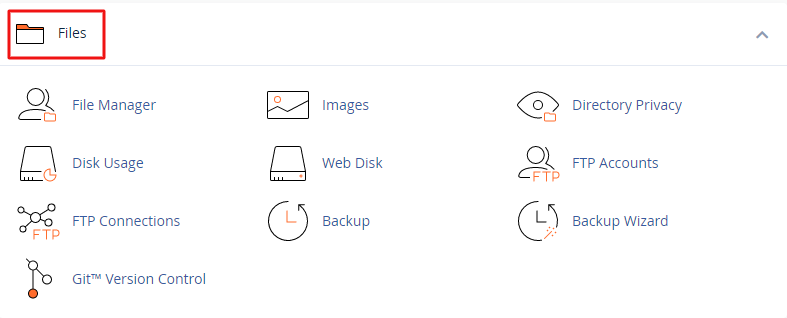
Step 2 – select the files option.

Step 3 – In the files folder, click on the backup option.
Step 4 – Once the backup file gets opened. Press download a full account backup option.

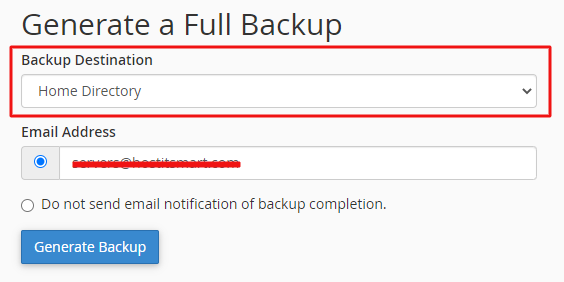
Step 5 – Choose Home Directory as the backup destination from the same drop-down menu.
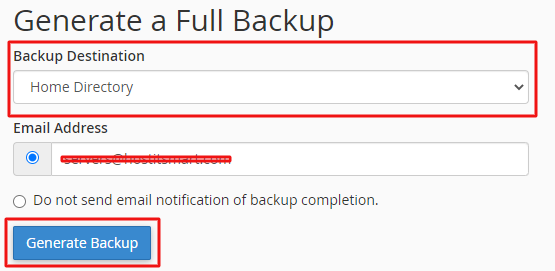
Step 6 – After choosing the destination, click on ‘Generate’ for an automated backup.
You can return to the backup page and check the download status. If it is still in progress, wait a few minutes, and refresh the page.
Also Read: Is Your Cpanel Not Receiving Emails-What to Do?
2. Automatic Home Directory Backup
As the name suggests, an Automatic Home Directory creates a full backup of the files in your Home Directory. Since it is a partial backup, it does not download DNS, MySQL, and other files and settings on the server.
Below are the steps for downloading a Home Directory Backup –
Step 1 – Open your cPanel dashboard and click on files
 Step 2 – select backups.

Step 3 – Search for partial backups and click on the Home Directory option in the backups folder.
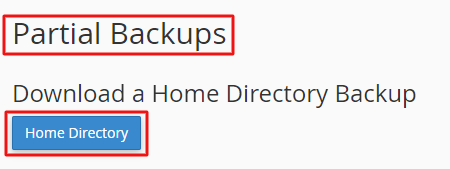
Right after, you will see the backup begins automatically.
Also Read: What is FTP & How to Create an FTP Account In cPanel?
3. Manual Website Backup
Unlike the automatic, here, you are supposed to download a manual backup of your website. This backup process is time-consuming and risky, as it requires you to select files and databases separately, meaning if something is compromised, you could even lose your existing backup. It is advised to be extra careful when creating a manual backup.
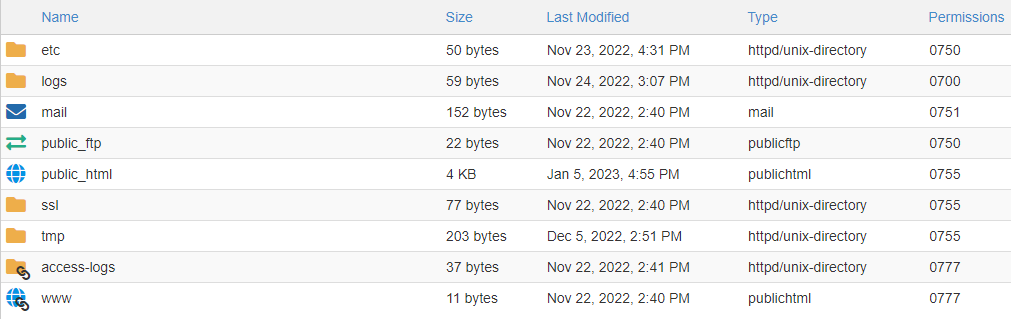
Before you create a manual backup, you need to find the main folder where all your files are stored. Generally, it is in the public_html directory. However, it can also be kept in a subdirectory like /w/.
Here’s how you can start the Manual Backup.
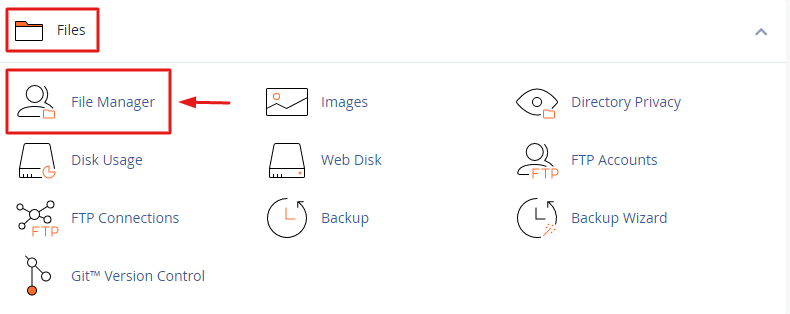
Step 1 – Log into cPanel, browse down on files, and then click on files manager.
Step 2 – Find the main folder where all your files and databases are stored.
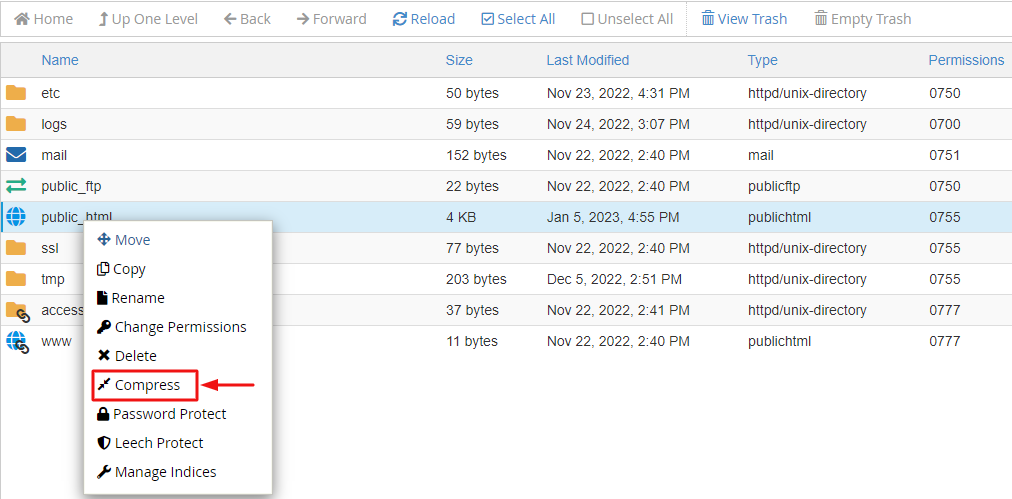
 Step 3 – Once you locate the main folder, right-click and select the compress option.
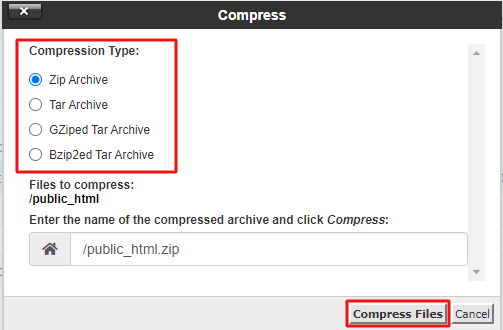
Step 4 – In the compress, select a type. You can either go for the Zip or Tar file and click on Compress.
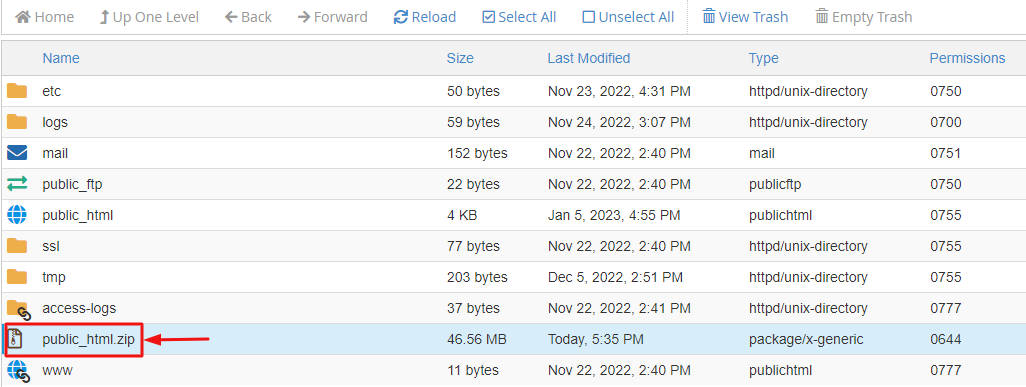
Step 5 – Return to the file manager to find the compressed file.
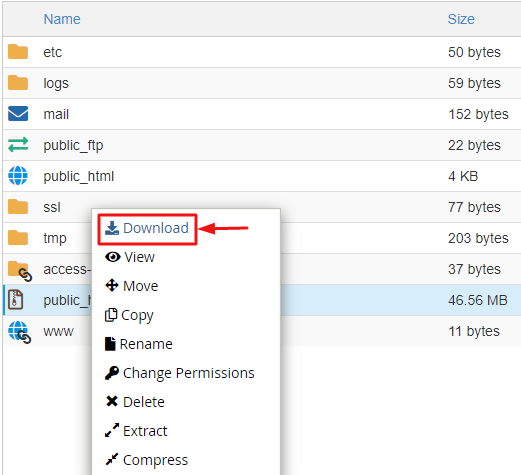
Step 6 – Lastly, select the folder, go to the top of the main menu, and press download
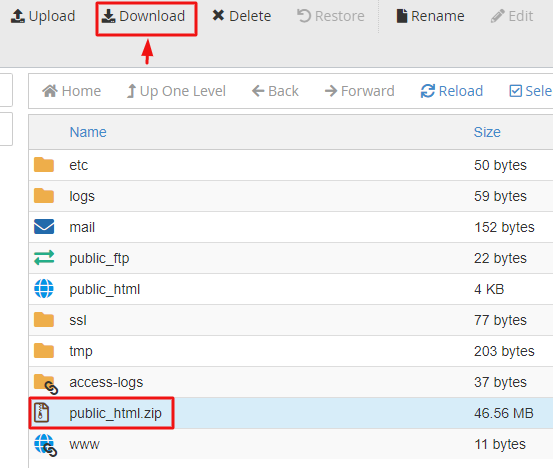
You can also download that by right clicking on the file & select the option “Download”
With the completion of the last step, all your selected files are now backed up.
Also Read: move an email account from one cPanel server to another
4. Backup Wizard
The Backup Wizard is the most flexible and beginner-friendly interface of the cPanel. It allows you to create a complete and partial backup of your website. You can also restore the most recent backup file through this function.
Now let’s walk you through creating the most simplified wizard backup.
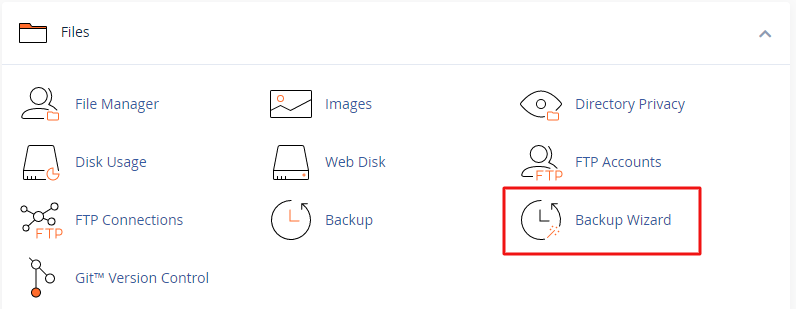
Step 1 – Log in to your cPanel, files, and then click on the Backup Wizard option.
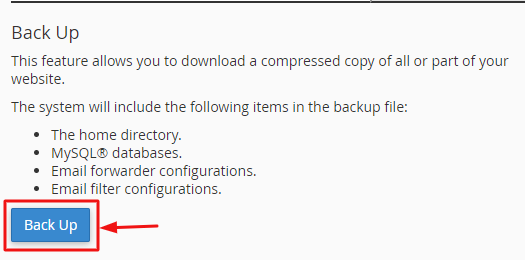
Step 2 – Once you do that, click the Backup button.
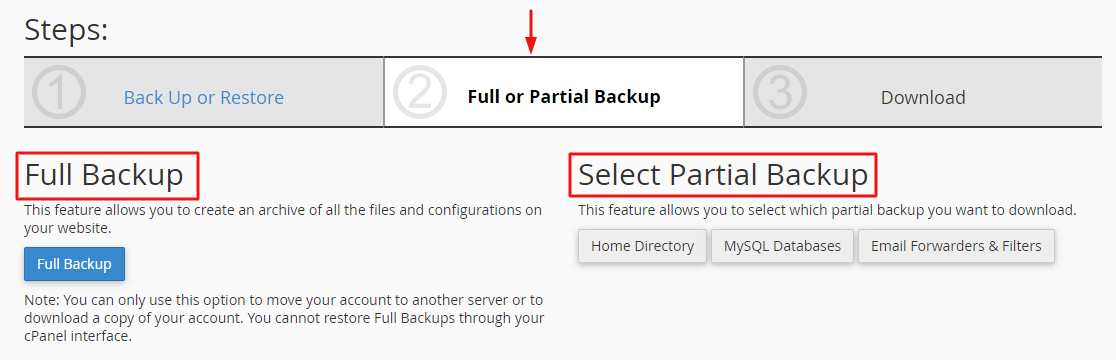
Step 3 – You must now choose a type of Backup – Full or Partial Backup.
Step 4 – You can now add your email address to get notified once the backup is complete.

Step 5 – Press the Generate Backup button. Wait for a few minutes, and Go Back to Downloads.

Step 6 – As you reach Downloads, you will see a link. Lastly, click on it to start the backup process.

Also Read: How to Find the Missing htaccess File?
To Conclude
Creating a backup of your website might seem like a big task and time-consuming activity, but once you start creating regular backups, it becomes easy. Thanks to technology, it has become a straightforward approach.
Ultimately, we recommend following the steps mentioned earlier every time you make even the smallest changes to your website.